Showing posts with label indian. Show all posts

Snow peas palya (Indian Style)

I was walking down the fresh produce aisle in Trader Joe's. Doing my weekly grocery shopping, ready to pick the veggies I wanted for the upcoming week. Just the same old same old. It was getting really boring. Eating the same veggies every week. I wanted to try something new this time. So, I was scanning through the options I had. And this particular vegetable caught my eye, Snow Peas. This is mostly used in stir fry dishes. It gives them a unique crunch and freshness which I love.
But I wanted to make some Indian dish out of this. A side to be eaten with chapathi/ roti or rice. So here is the recipe for the Indian version of snow peas palya (in Kannada).

Ingredients:

  • A packet of snow peas from Trader Joe's, chopped (I am not sure about its quanity, but must be 1/2 lbs).
  • 1/2 tsp of mustard seeds.
  • 1/8 tsp of hing.
  • 1 tsp of red chilli powder.
  • 1/2 tsp of mango powder (for that tangy kick).
  • Salt to taste.
  • 1/4 tsp of curry leaves powder (you can use whole curry leaves) .
  • 1/4 cup of finely chopped onions.
  • 1/2 tsp mustard seeds.
  • 1 to 2 tsp of oil.
Method:
  • To a pan/ kadai, add the oil and when its hot add mustard seeds. Wait for it to splutter (If adding whole curry leaves, you add it in this stage).

  • To the above, add finely chopped onions, hing, turmeric and saute for about 2 mins.


  • Now add the snow peas and fry for one min.

  • Now, add the salt, curry leaves powder and red chilli powder and stir to combine. 


  • Cover and cook for 2 to 3 mins or till the snow peas is cooked.


  • And now finally, add 1/2 tsp of mango powder, combine and serve!!


The dish is ready to serve. It tastes amazing!! I love eating this with yogurt rice. But you can eat this with sambar rice, chapathi, etc. Now you don't have to limit your options to Indian vegetables!! Let us know what you think!!

Koli saaru aka Chicken Sambar

I'm super excited to share this recipe!! Something that has been made within our family for generations :) A little unique and best of all, tastes amazing!! This dish is really close to my heart and stomach ;) My mother makes the best koli saaru in the whole universe. No joke, I'm pretty sure there are a lot of cousins of mine who can vouch for this.!
This can be eaten with ragi mudde, rice, chapathi, akki rotti, shaavige (rice noodles), idli, dosa or just as a soup :) I even enjoy eating this with bread too. The options are endless.

Ingredients:

  • Cleaning:
    • 1/2 cup of vinegar
    • 1 tsp of turmeric.
  • Masala
    • 3/4 of a medium onion chopped
    • 5 to 6 garlic cloves (mine were a little big)
    • 1 inch cinnamon stick
    • 6 cloves
    • 3 tsp of red chilli powder
    • 3/4 tbsp of coriander powder
  • 1/2 medium onion finely chopped
  • 1 tsp of ghee
  • 1/2 tsp turmeric powder
  • 2 lbs chicken cut into pieces (medium or small pieces)
  • salt to taste
  • Additionally
    • 1/2 cup of grated coconut
    • 1/2 tsp of poppy seeds
Method:
  • To clean the chicken, cut pieces of chicken, add about 1/2 cup of vinegar and turmeric, a little water if needed and let sit for about 10 mins. This step is very essential. I am very particular with the cleaning process.  While this is soaking, carry on with making masala.

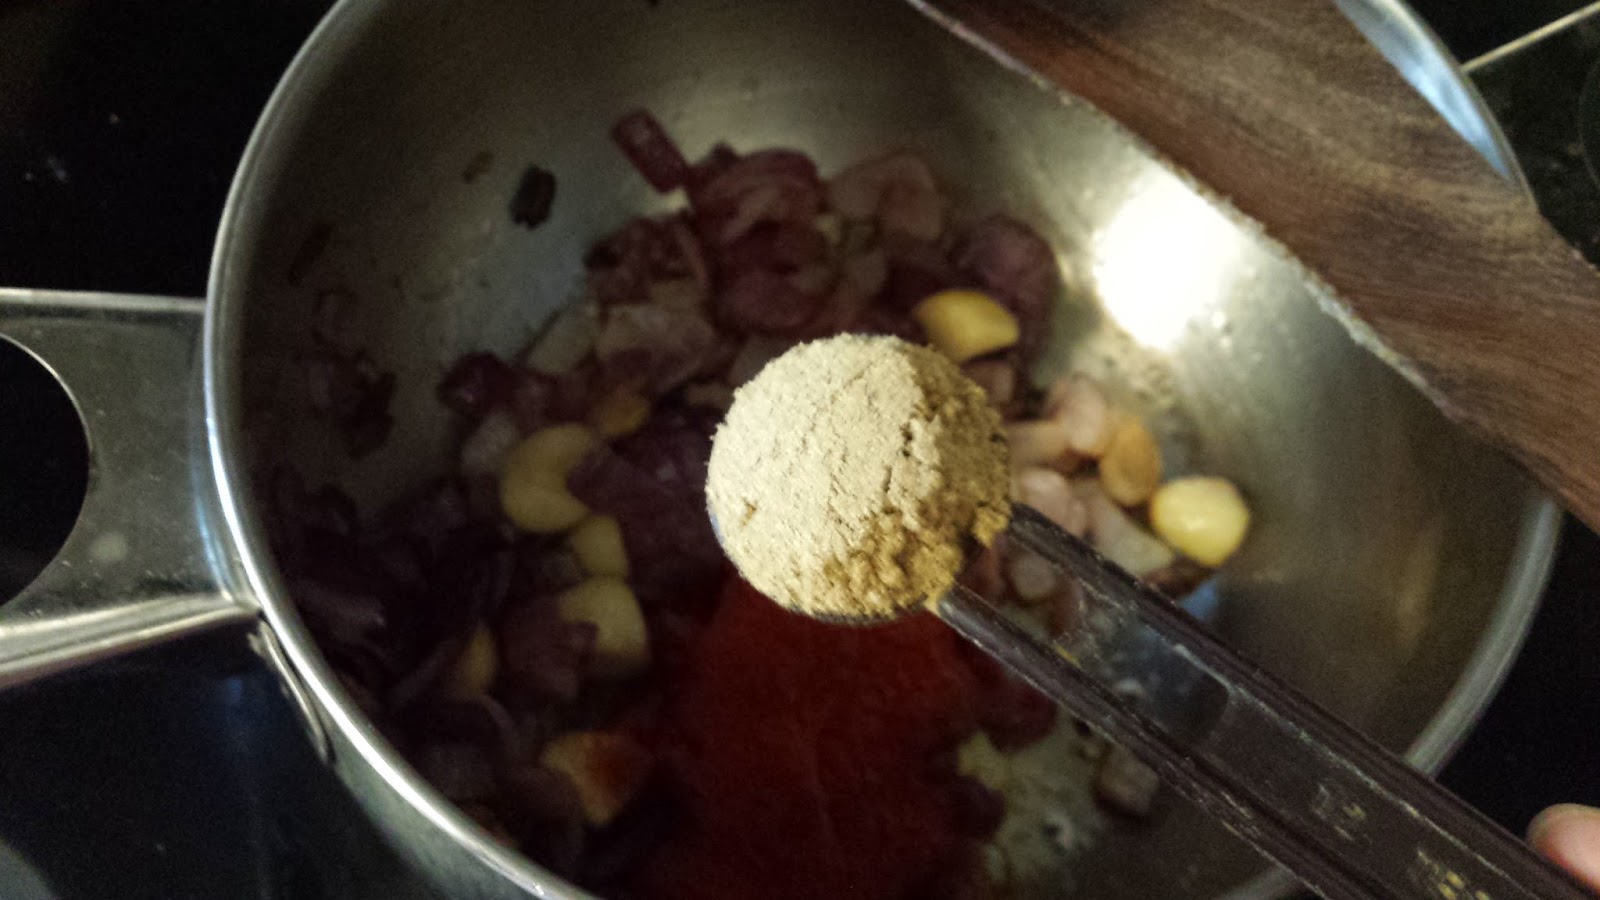
  • In a vessel, add a tsp if oil and add the ingredients mentioned in the masala section. First the cinnamon stick and cloves, cook till you smell the aroma and later add the garlic and onion and cook till the onion brown slightly. 


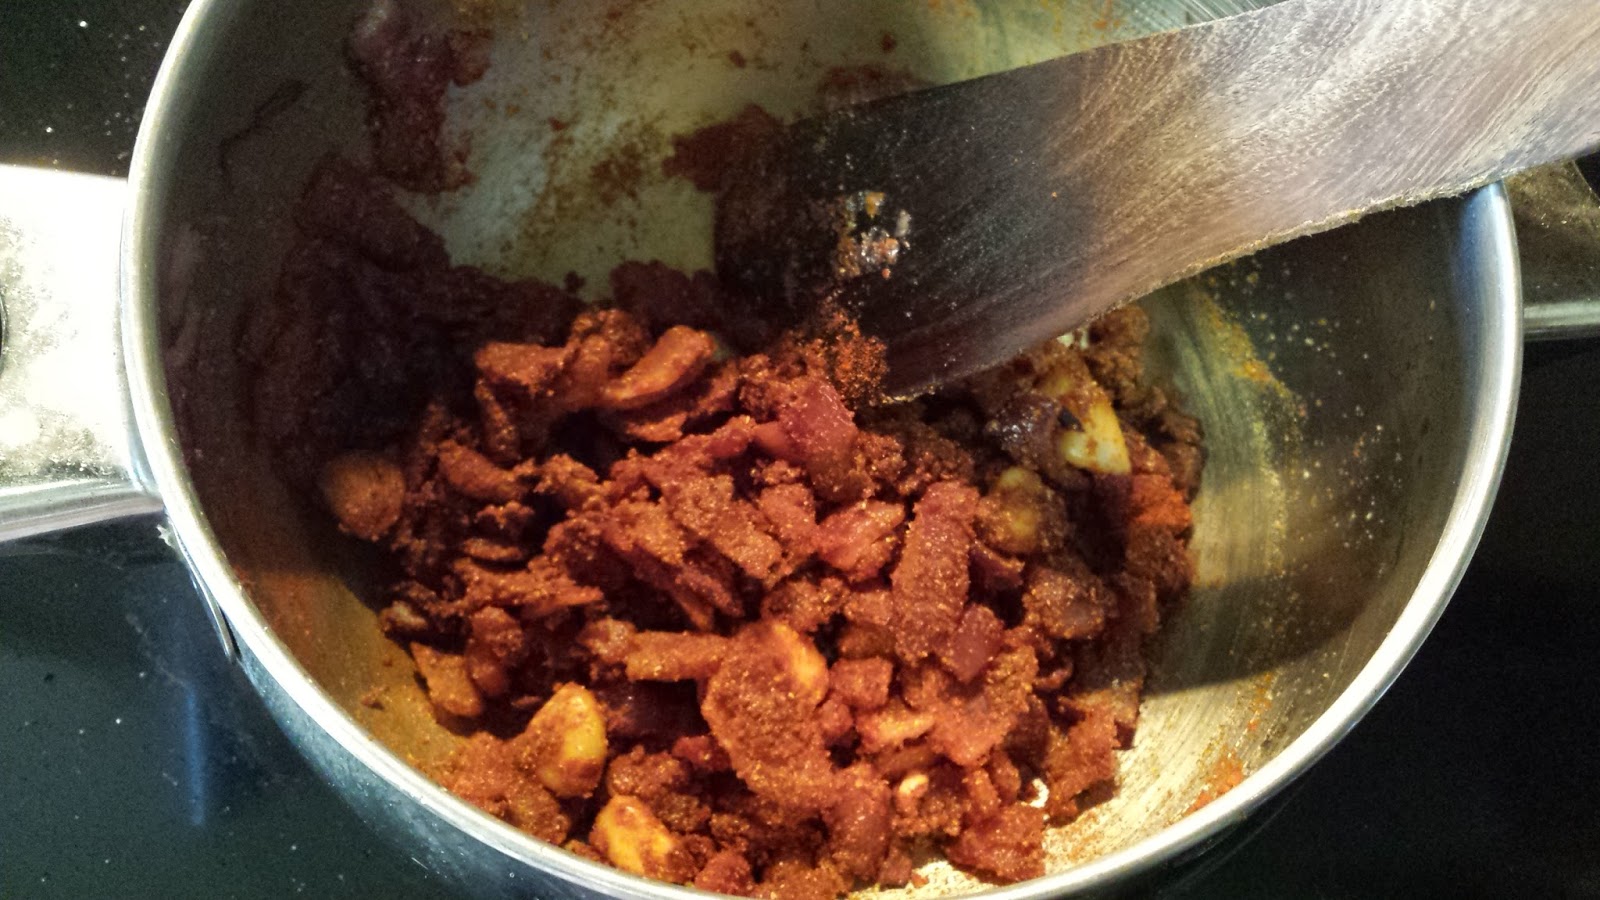
  • Once the onions are brown, switch off the flame and add the red chilli powder and coriander powder. The heat will cook the spices. 


  • Let the above sit till it cools down. Once cooled, grind it to a paste with little water. I used my trusted preethi mixer.


  • Now to a bigger vessel (I used a prestige pressure cooker) add about 2 tbsp of oil. When the oil is hot, add the onion and cook it till its slightly brown. 

  • At this point, wash the chicken (which was marinating in vinegar and turmeric) thoroughly and add it to the above with turmeric and cook till the water evaporates. 


  • Now add the masala and cook till you see some change in color.


  • Add water till it covers the chicken, cover and let cook for 2 whistles. 

  • Allow the cooker to cool and more salt if needed and also the ghee.
  • This is it!! :) Very sure your house will smell amazing while your making this dish. And tastes even better!! Now look at the below picture. You know your dish is cooked very well if you see a layer of oil and fat floating. This is an indication that the masala is cooked well.

I served the sambar with organic brown rice


Additionally:
  • You could even add some coconut to the above made sambar. For this, in a mixer, add 1/2 cup of coconut and 1/2 tsp of poppy seeds. Grind it to a smooth paste. Add this to the above. 
  • This takes the dish to a whole new level. This time I did not add coconut since I did not have coconut at home. 
  • You could even add coconut milk with poppy seed paste. 
Its very important to make sure the water in chicken evaporates completely before you add the masala. This will take out the bad smell in chicken.
Also while cooking the masala, cook it really well. The oil separating is a very good indication.
Let us know what you think of this traditional dish :) Share and subscribe!!

Tilapia fish fry - Indian style

Fish is something I've eaten a lot growing up. Sea food basically. My father is in the sea food business and so, it was available in abundance :) My mom apparently never liked sea food that much. Look who she ended up with ;) He he .. And hence, my mom makes amazing fish dishes. Especially her fish sambar. Its to die for!! Literally !!
But today, I'm saving this space for another recipe. Tilapia fish fry, Indian Style!
Its very simple. It just needs a few ingredients that you'd find in your everyday desi pantry. There is however one ingredient which might be tough to get your hands on!
Another thing that I must mention is that I follow a very thorough cleaning method. Learnt it from mommy of course! You can follow this for any fish cleaning process. But, I've added an additional step in it based on my research online.  Recipe as follows.

Ingredients:

  • 0.9 lbs of Tilapia fish (this was about 2 fillets)
  • Marinade:
    • Half lime (The one I used was pretty big. So I used half of it)
    • 2 tsp of red chilli powder.
    • 1/2 tsp of ginger garlic paste
    • Salt as needed. 
    • A pinch of Kalpasi (This gives an amazing flavor!! #secretIngredient but optional)
    • A pinch of garam masala
    • 2 tbsp oil (or as needed)

My trustee Kalpasi

  • To clean the fish:
    • Lemon / vinegar, as needed.
    • Salt
    • Turmeric
  • To garnish
    • Juice of Lime
Method:
  • Cleaning the fish.
    • Wash the fish fillets with plain water and to that, add lime/ vinegar, salt and turmeric to it and let it sit for 10 to 15 mins. 
    • Note: Adding salt to the fish while cleaning will get rid of the bad fishy smell. But add less of it. If not your fish will taste salty. Watch out the amount of salt you add in the marinade later. 
    • Wash the fish with plain water just before marinading.
Fish cleaning!

  • Meanwhile, Mix all the ingredients in the marinade and set aside. 
  • Use oil as necessary for the marinade, avoiding water. The reason being, while shallow frying, oil will splutter.
  • Let the fish marinade for at least 15 mins. Overnight is even better. 

  • And now, add some oil in a skillet, and shallow fry the fish.

  • Cook for about three mins on each side. Poke in the thicket part to check if its cooked thoroughly. You wouldn't want to eat raw fish !! 

  • After its done, squeeze some lime onto it and serve hot!


Note:
  • This recipe is a little over the top with spice for I love spicy fish!. Please feel free to cut down on it. 
  • Dagad phool/ kalpasi is a lichen that is used mainly in chettinad cuisine. This gives your dish the edge over others. I use it in all meat dishes (well, almost all). A little goes a long way.
Please try this recipe and let us know if you have any questions or suggestions on how you prepare this differently!l 

Masala Ragi Rotti

An amazing dish unique to Karnataka. This is packed with protein and is very low in fat. This is an amazing alternative to roti / chapathi. Trust me, you'll welcome this change. At least I get fed up of eating just rice and roti everyday.
The main ingredient in this dish is ragi flour which is readily available in the market. But, as a true fact, if you can get it ground fresh from seeds, the resulting rotti, will have a much better taste and texture. My mom taught me how to make this. She makes the best food in whole wide world :) And today, through this platform, I am going to share her recipe and of course some tips and tricks on how to make sure it is soft!!

Ingredients:

  • 2/3 cups of Ragi flour
  • 1/3 cup of onion, chopped fine (very important to chop it finely)
  • A bunch of cilantro (I used about 1/4 cup, just eyeballing the quantity here)
  • 2 tsp of Jeera.
  • 2 finely chopped Serrano peppers (Feel free to add more based on heat tolerance)


  • 1/4 cup of grated fresh or frozen coconut.
  • 1/3 cup of chopped, roasted peanuts (you may chop this finely, I did it a little coarse #secretIngredient :))


  • Salt to taste.
  • Very hot water (#togetsoftrotti)
Other things needed:
  • A cotton cloth big enough to hold the flat rotti (i really dont know how to put this into words :) But please watch video, you'll get an idea!)
  • A chopping board or roti board.
  • Extra Water to wet hands.
Method:
  • Combine all the above ingredients with hot water to make  a dough that is not too soft or too hard. (There is a video below to show the consistency. Let it sit for about 15 mins minimum. 

Link to video that shows the consistency of the dough.
  • After which, grab a good quantity of dough, form it into a ball, place it on the wet cotton cloth and spread it flat (round in shape). This is very hard to explain, but please watch the video below. You should get an idea of what I mean. 
  • And finally, put the flattened dough onto the tava using the cloth. Link to this step as below:

I dont have a picture to show how the final product looks like. But, the above makes amazing rotis :) Hope you guys enjoy cooking this. Please leave a comment if you have any questions regarding this recipe.


Note:
  • Make sure to add very hot water while making dough.
  • You may add some cooked rice (I usually add left over brown rice). But this recipe did not use any. 
  • Peanuts!!! adds a wonderful crunch. 
  • You could also cover the rotti while cooking. I did not need to do that. But its optional.
  • The pan I use in these pictures is a cast iron (lodge). Its heavy and amazing!!